 One of my favorite tutorials is the Mommy and Me Twirl Skirt. Not only is it amazingly simple and FAST, it also gives you the tools you need to make a one of a kind skirt in a zillion different sizes, lengths and layers. Okay, maybe not a zillion but I bet if we did the math it would be close enough to round. When I make the twirl skirt with a second layer (or more), I like to pinch up the top layer and tack it into place with a couple stitches or with a pin. Then, I attach a fun accessory and voila I have a cute little peek a boo skirt. Lately, I have noticed the use of another technique which seems to be gaining popularity. I prefer the simple pinch and stitch myself, but since I’m in the how-to business I’ll do my job! I haven’t a clue what this is called but here it is…

Here’s what you’ll need:
Your finished skirt
A length of about 1 ½” satin ribbon (suggested)
A length of ¼”- ½” ribbon (suggested)
A small sized safety pin
Your sewing machine
Scissors
Fray check
A few tips!
I am using a piece of fabric with a hemmed bottom edge and a red waistband along the top. This is only an example for the tutorial, you will be adding this to your skirt or whatever else interests you. For the ribbon, I prefer satin because it is light, yet durable and soft. You may use any type or ribbon of various widths. The length of your 1 1/2" ribbon will be and 1" shorter than the length of your skirt panel. The length of your 1/4"-1/2" tie ribbon will be about 4 times the length of your skirt panel. You can be the judge of the exact length once you have completed the process.
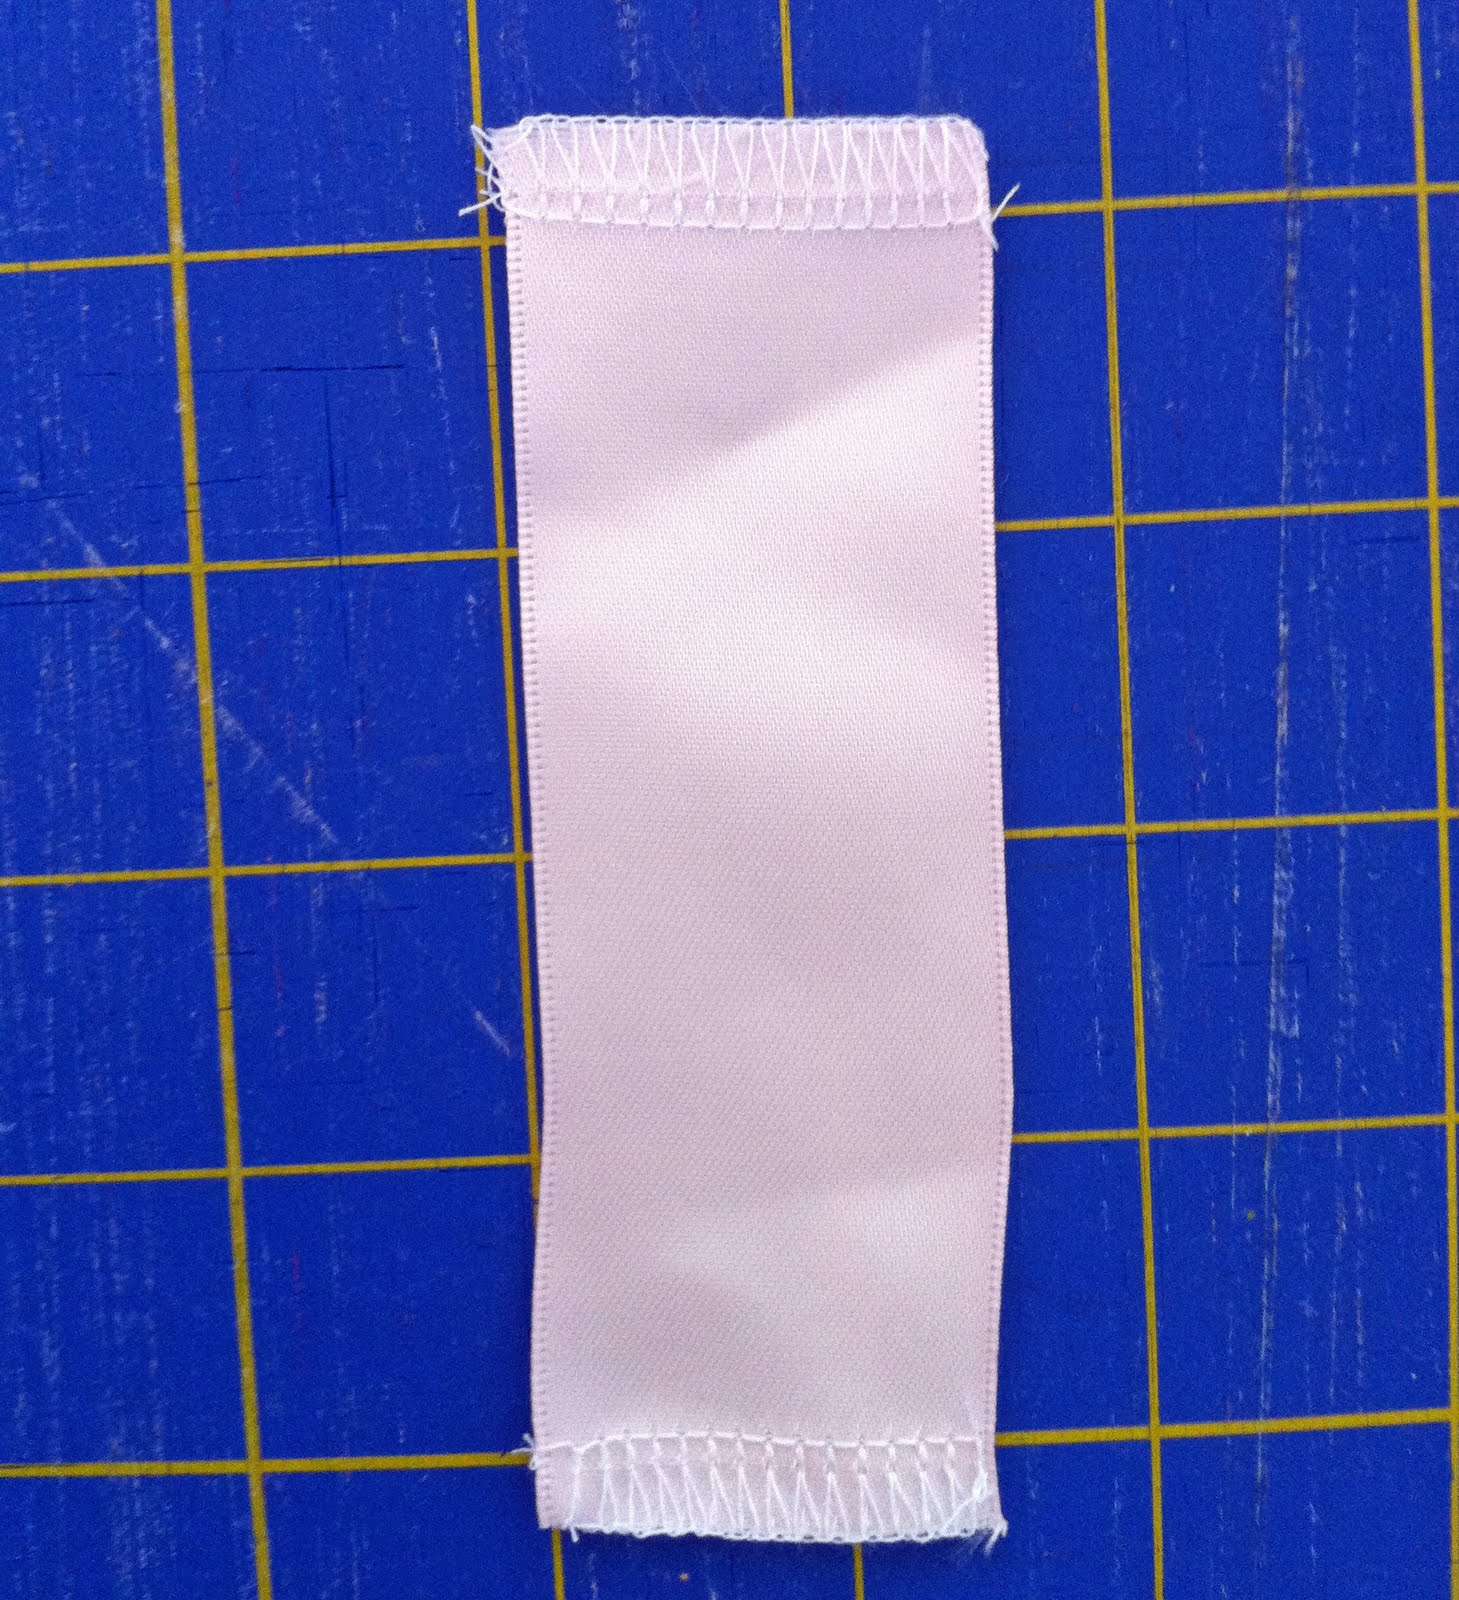
Begin by cutting your wider ribbon 1" shorter than the length of your skirt and finish the raw edges with a serger or an overcasting/overlocking stitch.

Next, place your wide ribbon onto the back side of your skirt panel with one of the finished ends just inside or above the hem line. Make sure your ribbon is pinned into place, laying flat and straight. Sew up both sides, about 1/4" in from each edge of the ribbon and then sew down the center of the ribbon. You have three stitches (red lines) running down the length of your ribbon, creating two tubes that are open at both ends.

This is optional, but you may add a small loop to the underside of your skirt to use for anchoring the tie ribbon. This comes in handy if you don't want the tie ribbon to show on the outside of the garment. Simply clip off a short piece of the small ribbon and fold it into a loop. Finish the raw ends and then attach it to the underside of your skirt along one of your previous stitch lines. I used about 1" of the smaller ribbon and attached it about 1" up from the hem line.


Clip the safety pin to one end of your smaller tie ribbon. Insert the safety pin into the bottom opening of one of your tubes. Work the safety pin up and out the top of the first tube. Then into the top of the second tube and down and out the bottom.


Tug on your tie ribbon until both sides are of equal length. Slide the skirt up so that it gathers to the length you'd prefer. Tie the ribbon into a bow or attach it to the loop on the underside of your skirt.
Voila! You have a peek a boo skirt!
FAbulous!! Thanks for the tutorial. I always wondered how to get this look. Thank you!!!
ReplyDelete