 Okay, here’s a free tutorial for all of you ladies out there who have little heads to protect from the hot summer sun. I didn’t have much time to get creative with this but you really could do so much more. This tutorial maybe used to create items for personal use and for sale. This tutorial may not be sold, it is FREE and to remain FREE. So, off we go and I can’t wait to see what everyone comes up with!
What you need:
No more than 20" x 20" of fabric
Elastic thread
Coordinating thread
Cutting and measuring tools
Some nice things to have:
A rolled hem foot or a serger that rolls hems
Cute embellishments like lace, ribbon, flowers etc…
Fabric marker
Cutting your fabric:

Doll: 13” x 13”
Newborn: 15” x 15”
3-6 months: 16” x 16”
6-12 months: 17” x 17”
Toddler: 18” x 18”
Child: 19” x 19”
Teen to Adult (hey, you never know): 20” x 20”
Let’s get started!


1) Now that you have your fabric cut to size, you will fold it twice.
• Fold your fabric in half. Yup, in half. It looks like a rectangle.
• Fold your fabric once more, so it looks like a square again.
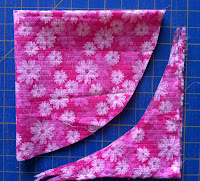
2)Let’s make a circle!
• Place your fabric so that the single fold is to your left, the double fold
is at the top, and the raw edges are to the bottom and right.
• Now, draw and or cut and arc from the bottom left corner up to the top
right corner.
• Unfold your circle!


 3) Now, you will hem the edge of your circle.
• I strongly encourage you to roll this hem, but if you do not have a rolled
hem foot or a serger, it’s okay!
• Fold the edge under ¼”, with the wrong sides of the fabric touching, and iron.
• Fold the edge under another ¼” and iron.
• Stitch this pressed hem into place. Making a few shallow 1/8” slits along the edge may help when folding your edge.

4) Next, you will shirr, or shape the hat! Gather an empty bobbin and your elastic thread.
• Hand spool the elastic thread onto your bobbin. Be sure you go the
same direction that your machine does when it spools the bobbin
automatically. Also,take care not to stretch the thread.
• Load the bobbin into your machine as you normally would.
• Set your straight stitch length to its longest setting.
• Starting 2” in from the edge with the right side of the fabric facing
upward and sew a continuous stitch around the hat.
• Make certain you backstitch several times at the beginning and end of 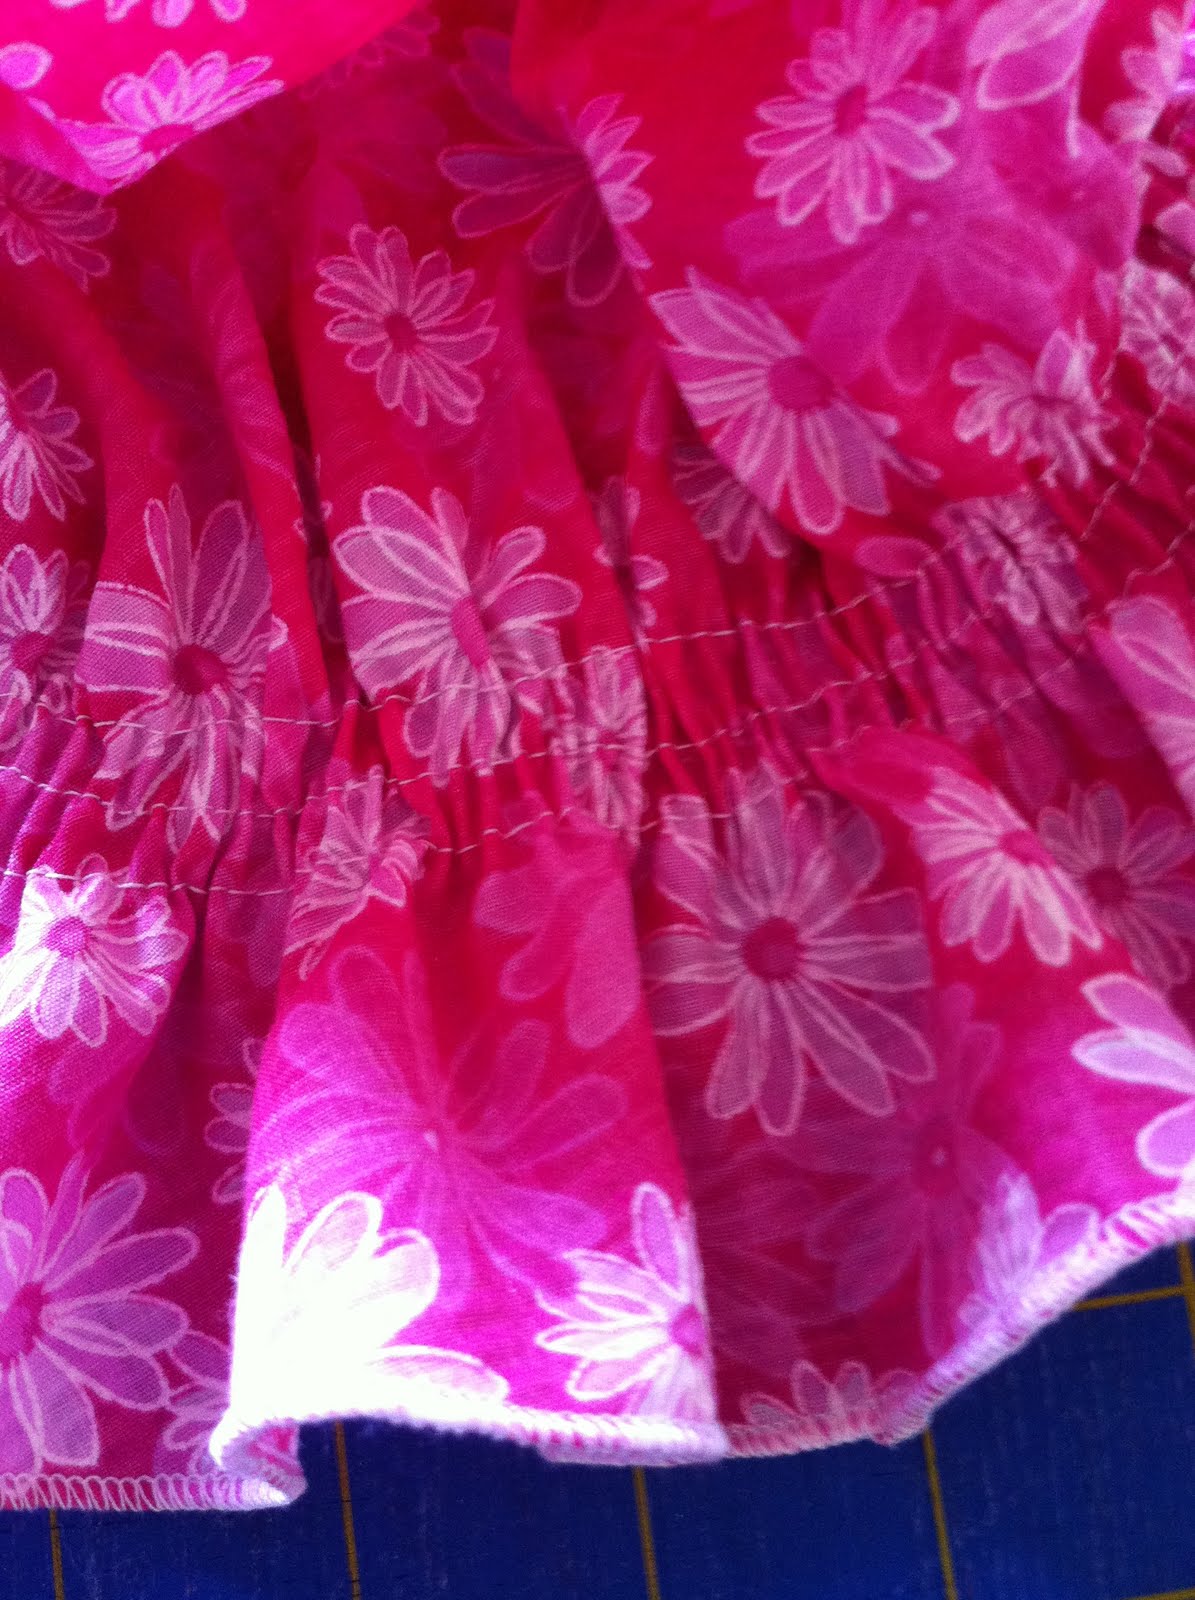
your shirring stitches. Also, do not pull your fabric through the feed.
You don’t want to stretch the elastic thread.
• Add another stitch about ¼” inside the first stitch and then another ¼”
inside the last.
• Place your hat on the ironing board and hold your iron over the elastic,
not touching, and blow steam. This will make it shrink up, giving you
more ruffle and stretch. This will also happen in the dryer, the first
time you launder.
5) Finally you can embellish your hat with whatever you can think of.

******CONTEST CONTEST CONTEST******
Now that you have the know how, I’d like to encourage your creativity. I’m going to ask you to make an adorable hat and share it with me. I will then feature your custom creation on the Tenderfeet Stitches Facebook page and let the fans vote for their favorite.
Up for Grabs!
The #1 fan favorite will receive any three tutorials from my Etsy shop.
The #2 fan favorite will receive any two tutorials from my Etsy shop.
The #3 fan favorite will receive any one tutorial from my Etsy shop.
All entries must be sent to Tenderfeetstitches@gmail.com by May 20, 2011 and they must be titled “Summer Sun Hat Contest Entry” Voting will begin on May 23, 2011 and will end on May 31, 2011.
it's wonderfull
ReplyDelete